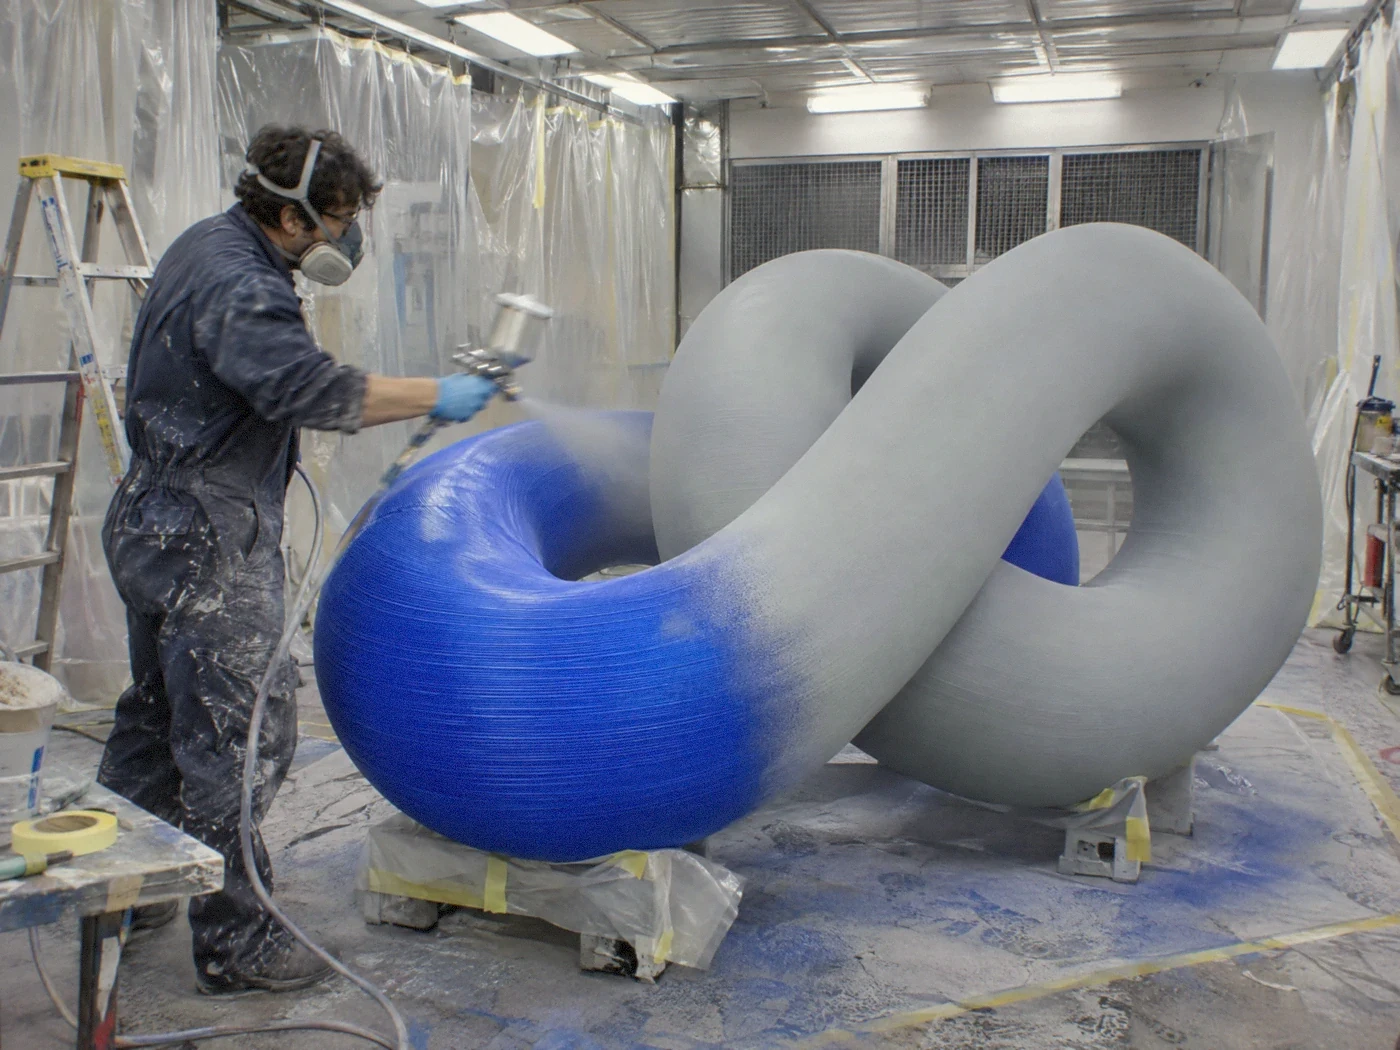
A large 3D printed sculpture goes from raw plastic to finished object in six stages: joining the sections, filling seams, sanding, priming, painting and clear coating. Most of the visible quality comes from those steps, not from the print itself. Here is what happens at each one and what you can ask for.
Why finishing takes real time
Straight off the printer, a large part has fine layer lines, small support marks and edges where sections will meet. That surface reads as "3D printed" from a few feet away. For a brand activation, a gallery or a hotel lobby, the goal is usually an object that looks made, not printed. Getting there is hand work, and it is where a big share of the budget and schedule lives.
1. Joining the sections
Big pieces are printed as hollow shells in sections. We plan the cuts so seams fall along natural lines where possible, and design in keys or alignment features so parts register cleanly. Sections are bonded with an adhesive suited to the material, and larger pieces get internal reinforcement or a frame so the joint is never doing structural work alone.
2. Filling seams and layer lines
Once bonded, seams are filled with a sandable filler or body compound. Low spots and print artifacts get the same treatment. On pieces that need a very smooth surface, a skim of filler or a high-build coat goes over the whole shell to bury layer lines rather than chasing them one by one.
3. Sanding
Sanding moves through progressively finer grits. Flat and gently curved areas go quickly. Tight details, lettering and inside corners take patience, because it is easy to round off a crisp edge. For textured finishes, some layer texture can be left on purpose as part of the look.
4. Priming
Primer does two jobs. It gives paint something to grip, and it reveals every flaw. Expect a cycle of prime, inspect, spot-fill and sand before the surface is ready. A uniform primer coat is the first moment the piece looks like one object rather than a set of parts.
5. Paint and colour
Colour can be sprayed solid, faded, masked into graphics or hand-painted. Brand colours are matched to a reference you provide, ideally a physical swatch or a named colour standard, since screens are unreliable. Metallics, pearls and fluorescents are possible but behave differently, so they are worth sampling first.
6. Clear coats and sheen
A clear coat protects paint from handling, cleaning and UV, and it sets the sheen. Gloss looks rich but shows every ripple, so it needs the most prep. Satin is forgiving and photographs well. Matte hides small flaws and reads as soft and modern, but can mark more easily when touched.
Finish levels at a glance
| Level | What it looks like | Good for |
|---|---|---|
| Raw print | Visible layer lines, bare white or clear PETG | Prototypes, test fits, mock-ups |
| Light finish | Seams filled, primed and painted; layers faintly visible up close | Pieces seen from a distance, short events |
| Show finish | Seams hidden, smooth surface, even colour and sheen | Activations, retail windows, photo moments |
| Gallery finish | Fully refined surface, crisp edges, flawless clear coat | Art objects, lobbies, close inspection |
Ways to keep the finish on schedule
- Decide the sheen early. Gloss changes how much prep the whole surface needs.
- Share colour references as physical samples or named colour standards.
- Flag the areas the camera or the public will see up close, so effort goes where it counts.
- Pick colours from our paint palette, such as 04 Signal or 02 Cobalt, or send a reference to match. Every piece is printed in white or clear PETG and painted after.
- Plan touch-up paint for install day. Large pieces pick up scuffs on the way in.
What finishing can and cannot fix
Finishing hides seams, layer lines and small print flaws. It cannot fix a model that was too thin, a section split in an awkward place or a shape that sags because it was not supported. That is why finish goals belong in the first conversation, alongside size and schedule. Tell us how close people will get and how the piece will be lit, and we can plan the print around the finish rather than the other way round.
Starting a finished piece
Browse the colour range on our materials page, then send your model or idea through the Start a print form. Tell us the finish level you have in mind and we will quote to it.