Process
Most projects start with something ordinary and a room that wants it enormous. Here's how it gets from an idea to the floor.
01 — Six steps
01
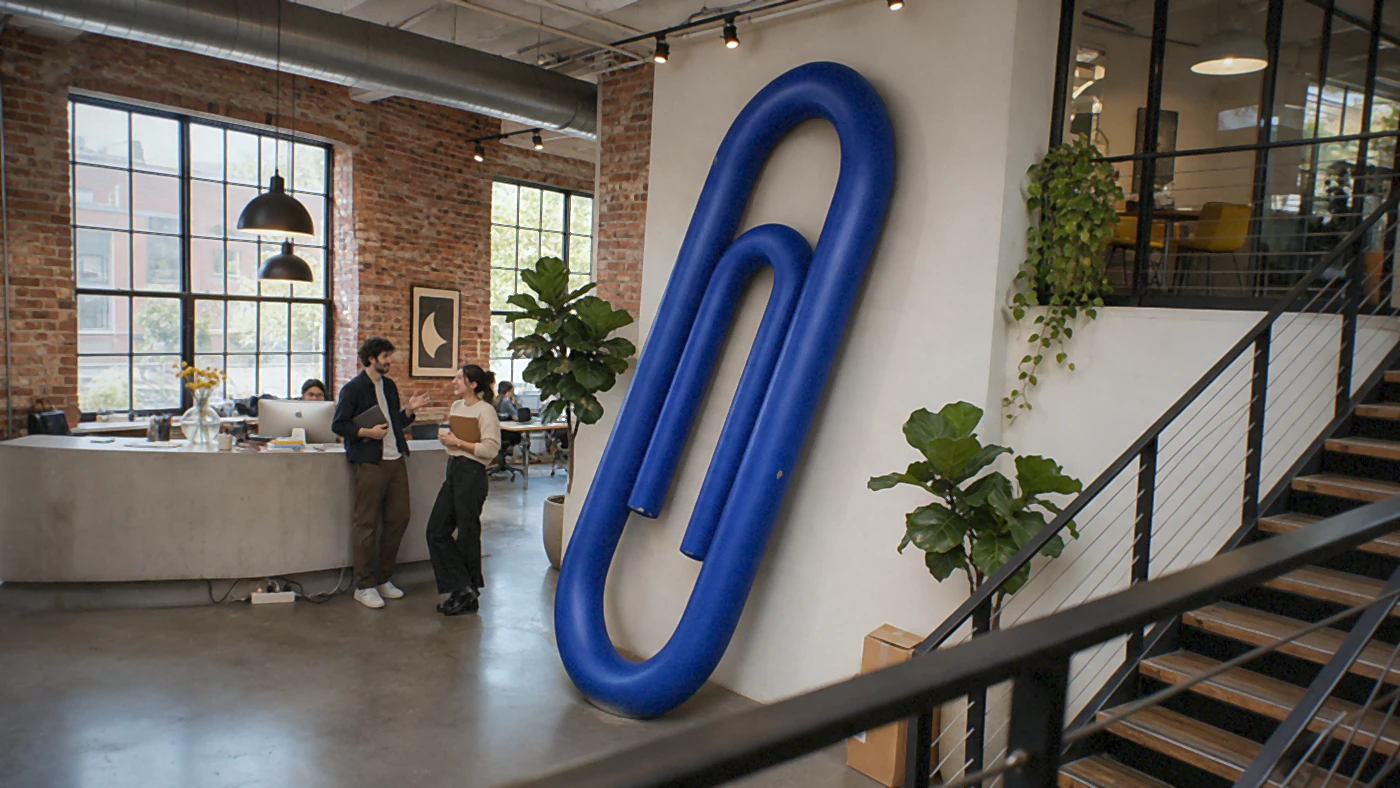
It often starts with an everyday object and a room: a paperclip for a lobby, a gummy bear for a gallery, a duck for a launch. Tell us what it is, where it's going and when it has to be there. We reply with questions, then a plan and a quote.
You send
References, a sketch or a file, plus the venue, the date, a rough size and a budget range.
You approve
The plan and the quote.
02
We build or prepare the 3D model, then work out how it splits into printable sections, where the seams fall and how it stands up. Internal structure, fixings and the route through the door get planned here, not on install day.
You send
Venue details: door and lift sizes, where it can be fixed to the floor, wall or ceiling, and any venue rules.
You approve
The model and how it splits into sections.
03
Before anything big prints, we lock the shape and make a small painted sample of the surface: colour, sheen and texture. You see it in real light, not just on a screen.
You send
Colour references, such as a Pantone or RAL code, or a physical swatch.
You approve
The final model and the finish sample. Shape changes after this point move the date.
04
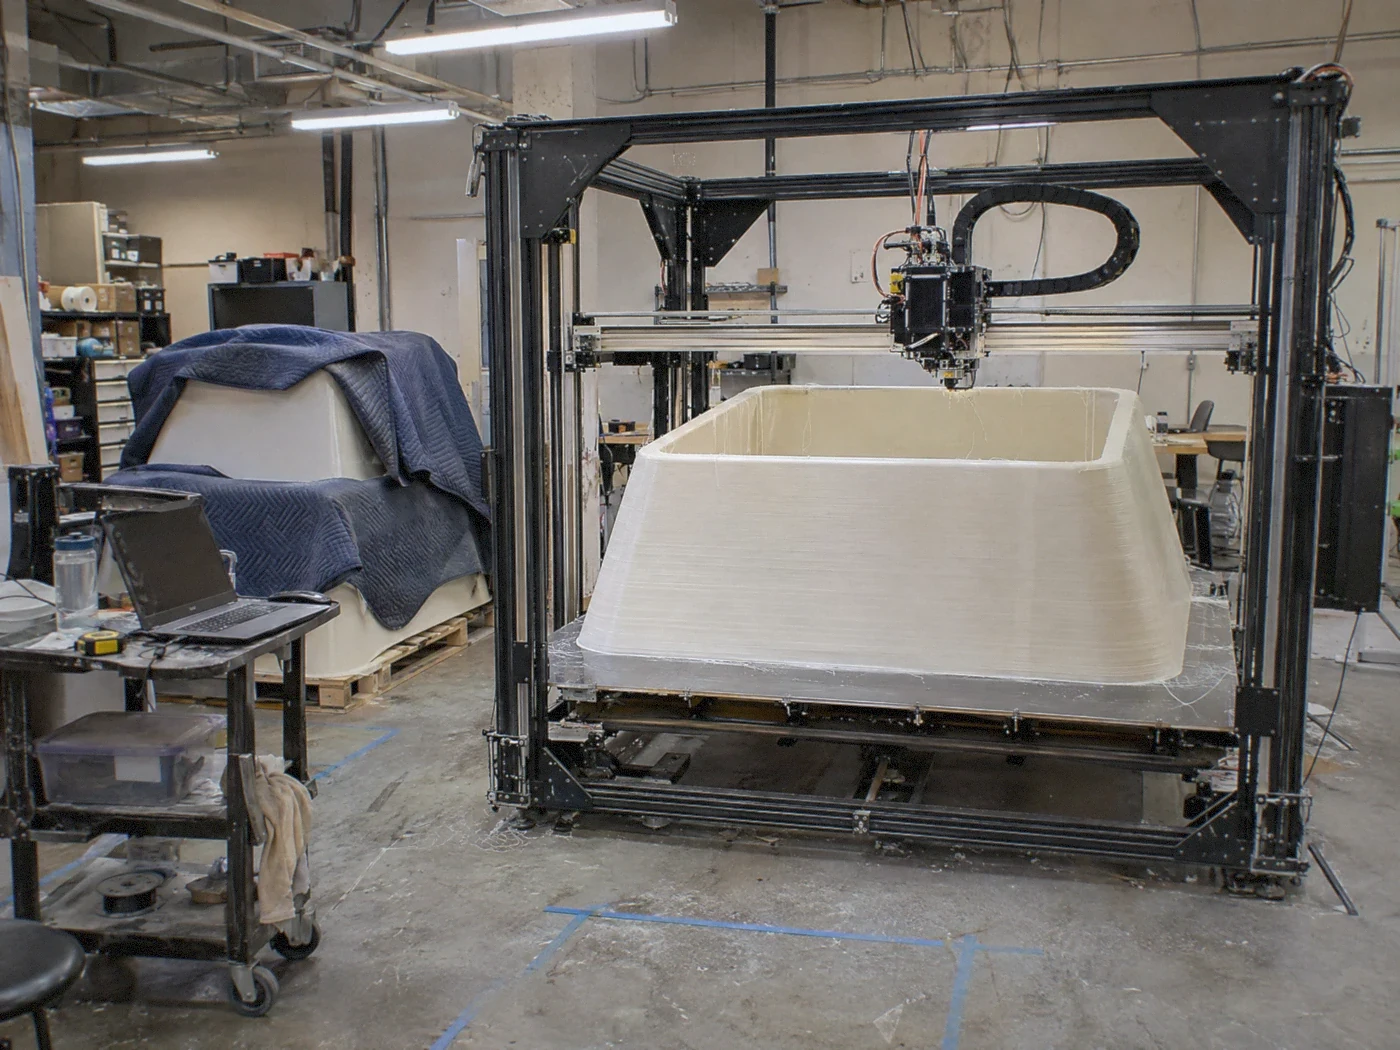
The piece prints as hollow shells, section by section, in white PETG for painted pieces or clear PETG for pieces that glow. Each section is checked against the model as it comes off the printer.
You send
Nothing new. We share progress photos as sections come off.
You approve
Nothing at this stage, unless something changes on your side.
05
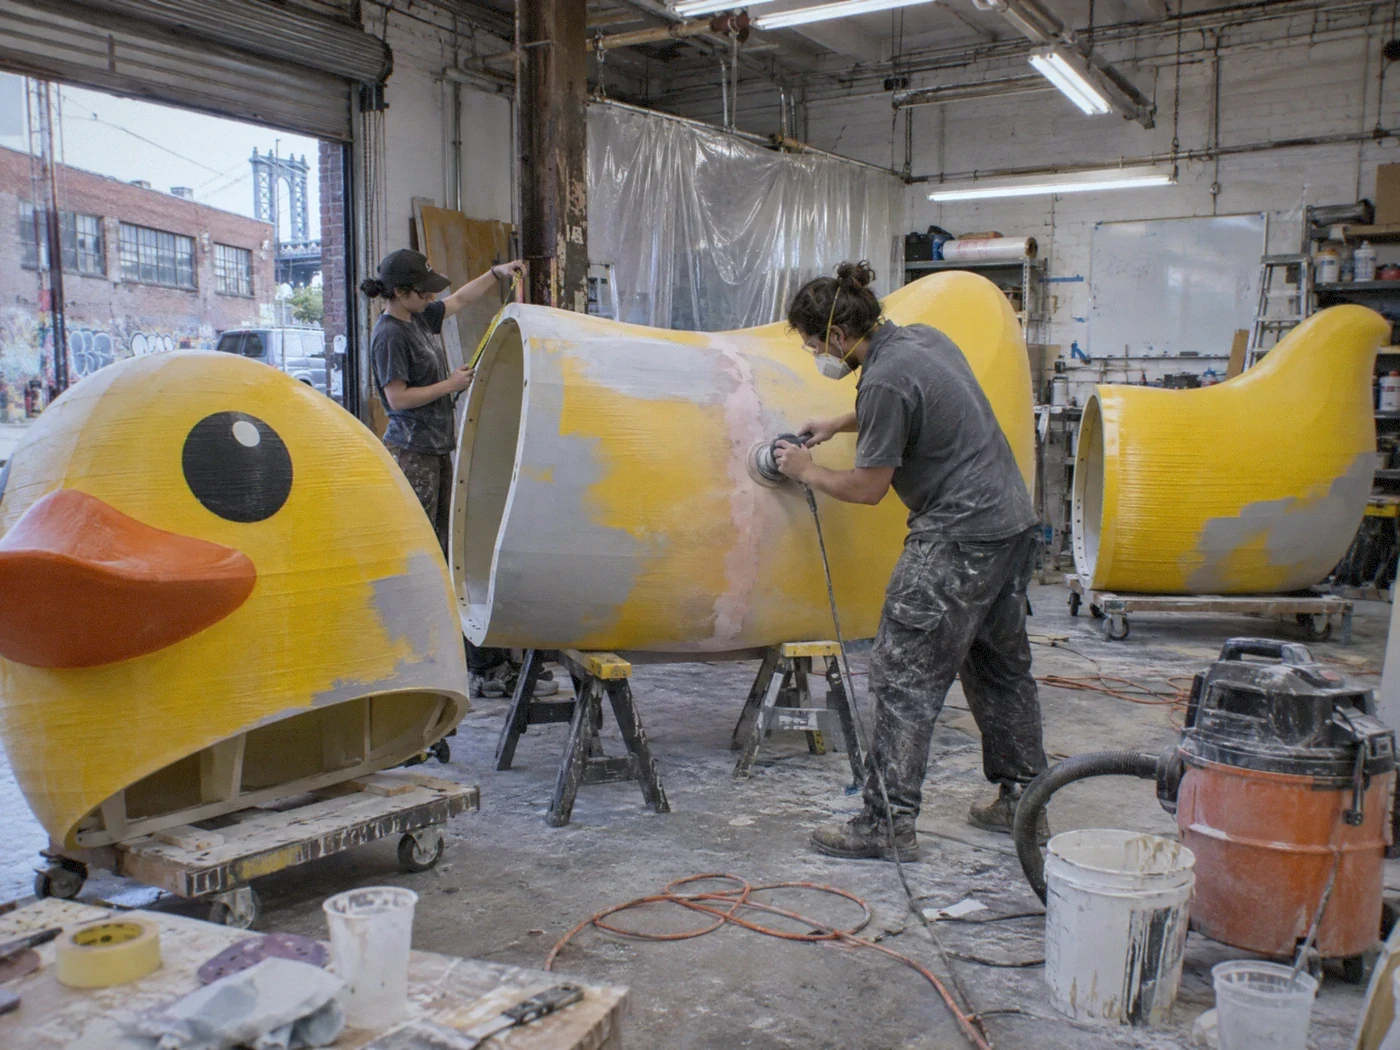
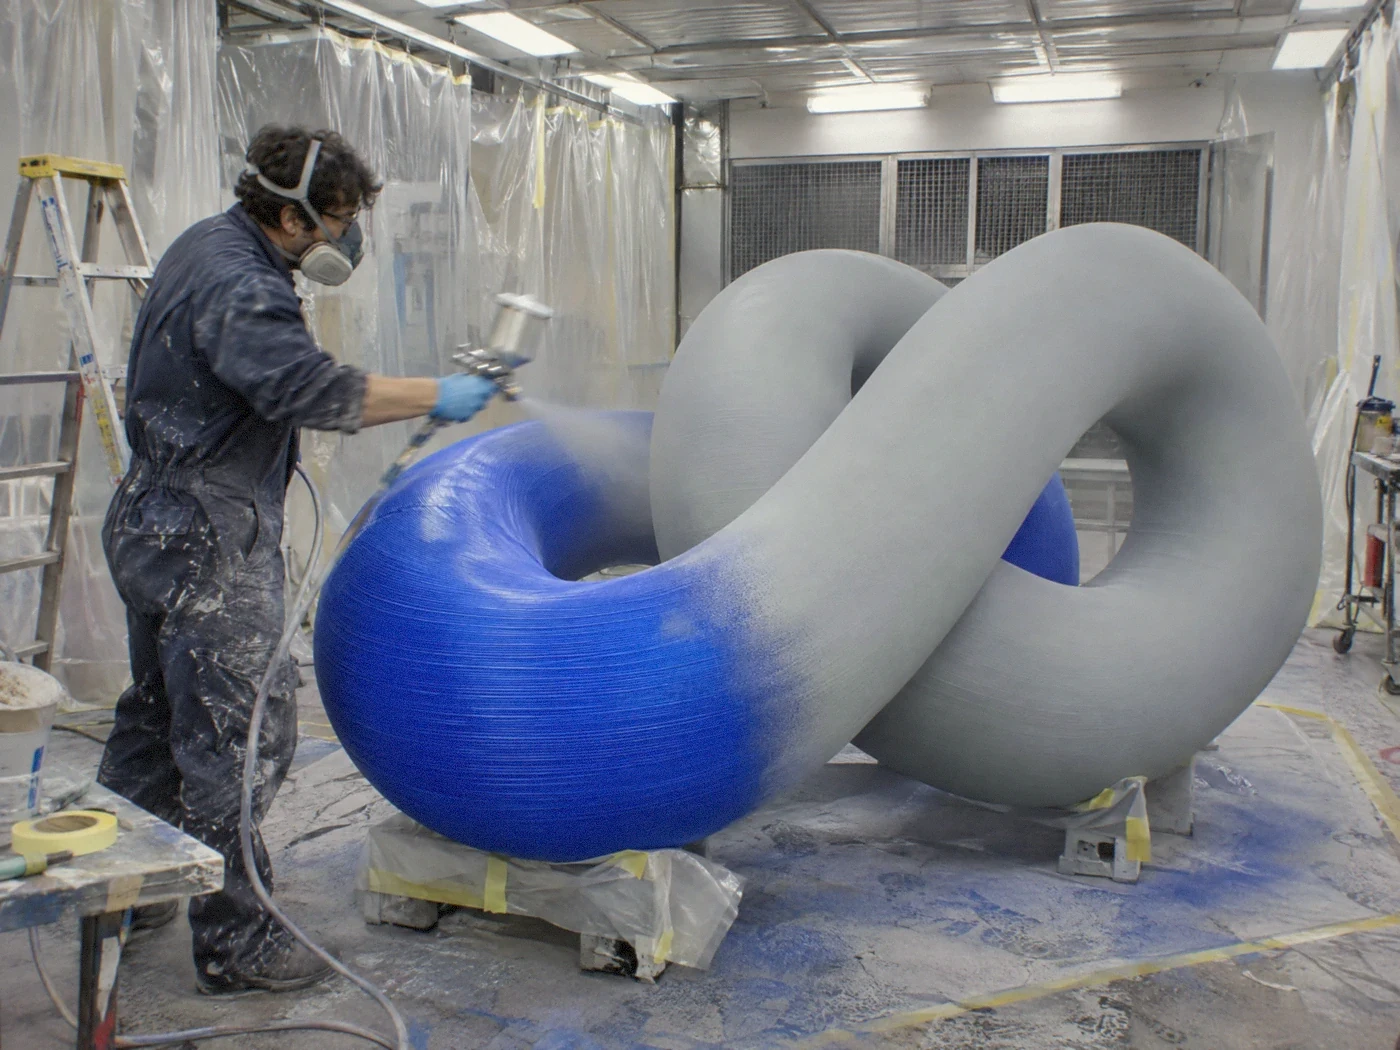
Sections are keyed, bonded and the seams filled, then sanded, primed and painted or coated in-house. If the print itself is the look, we leave the white or clear PETG raw and seal it instead.
You send
Any last notes on colour or sheen.
You approve
The finished piece, in photos or in person, before it leaves.
06
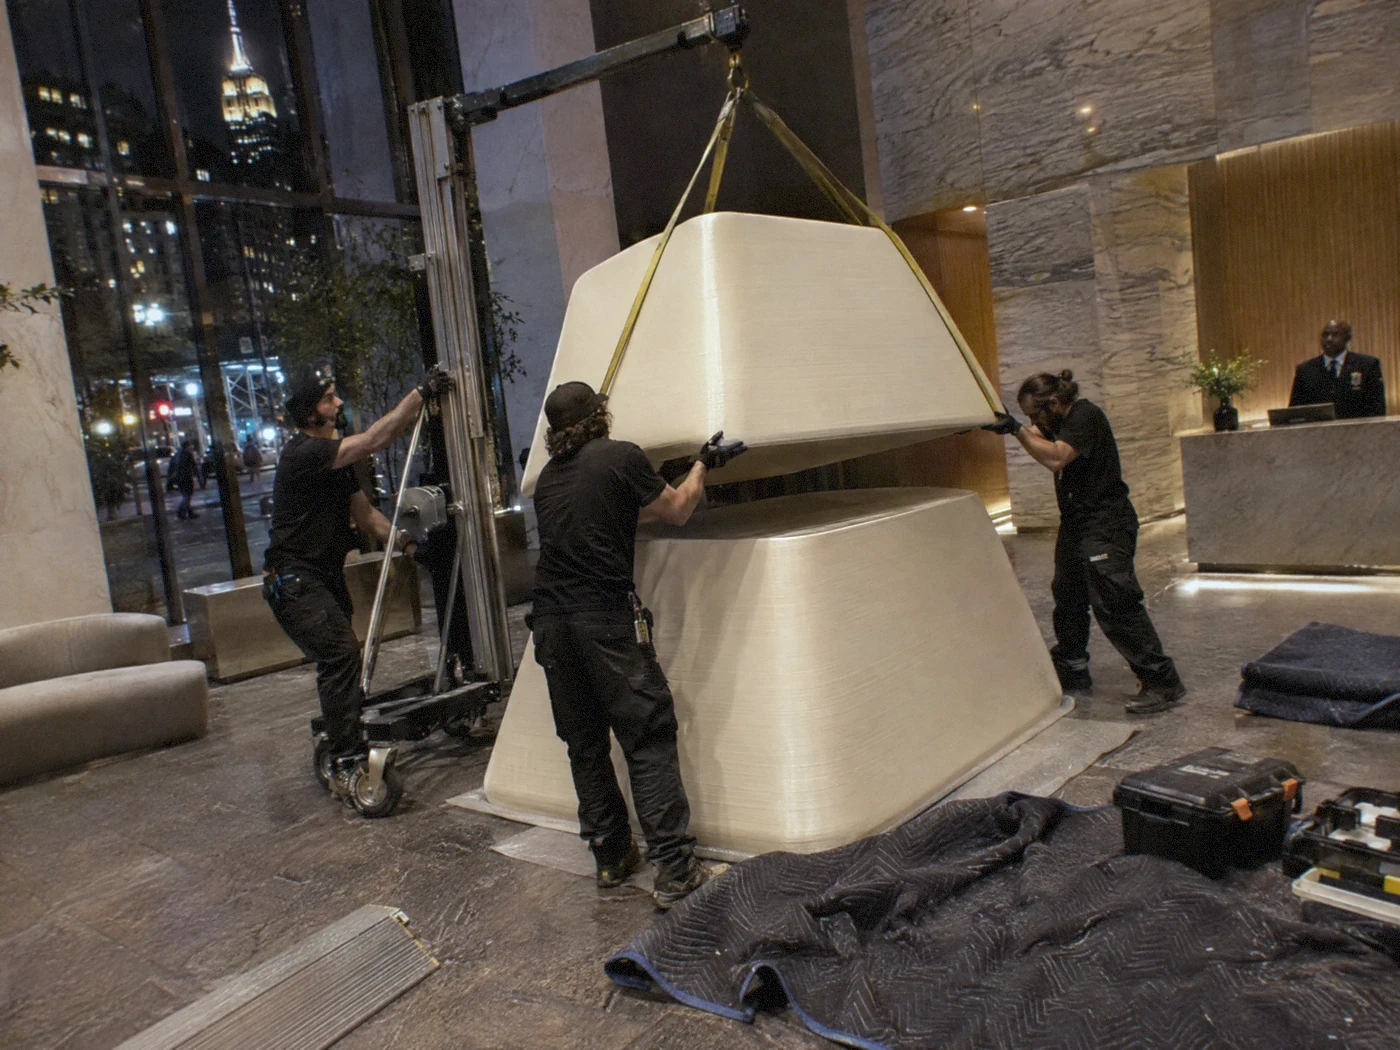
We pack, deliver and install on site, working to the venue's load-in window and rules. You get a small touch-up kit for knocks during the run.
You send
A load-in time, a site contact and any venue paperwork, such as insurance certificates.
You approve
Sign-off on site, once it's in place.
02 — Timing
It depends on the piece, so we don't quote a stock number. Send your date with the brief and we'll tell you straight away whether it's realistic, and what would make it easier.
Bigger pieces mean more sections, more print time and more seams to finish.
Raw layer lines are quickest. A seamless painted surface or an exact colour match takes more passes.
A print-ready file moves faster than a sketch we model together.
Quick sign-offs on the model and the finish sample keep everything moving.
Small tweaks are easy early. Shape changes after printing starts cost time.
Load-in windows, after-hours access and venue rules shape the install.
03 — Checklist
None of it has to be final. Rough is fine; we fill the gaps together.
04 — FAQ